Cable Railing has become more popular with consumers and business owners over the years. It is one of the most unique railing systems available today. A DIY Cable Railing project is quite easy and a great addition to your home! It is also best taken in stages, with planning being the first and most important stage, followed by the material selection, material acquisition, and installation. Whether you use a contractor or install yourself, we will go over the DIY guide steps in detail!
*Always refer to your local building code officials prior to installing any Atlantis Rail system to ensure all code and safety requirements are met. Atlantis Rail Systems is not responsible for improper or non-recommended installations.
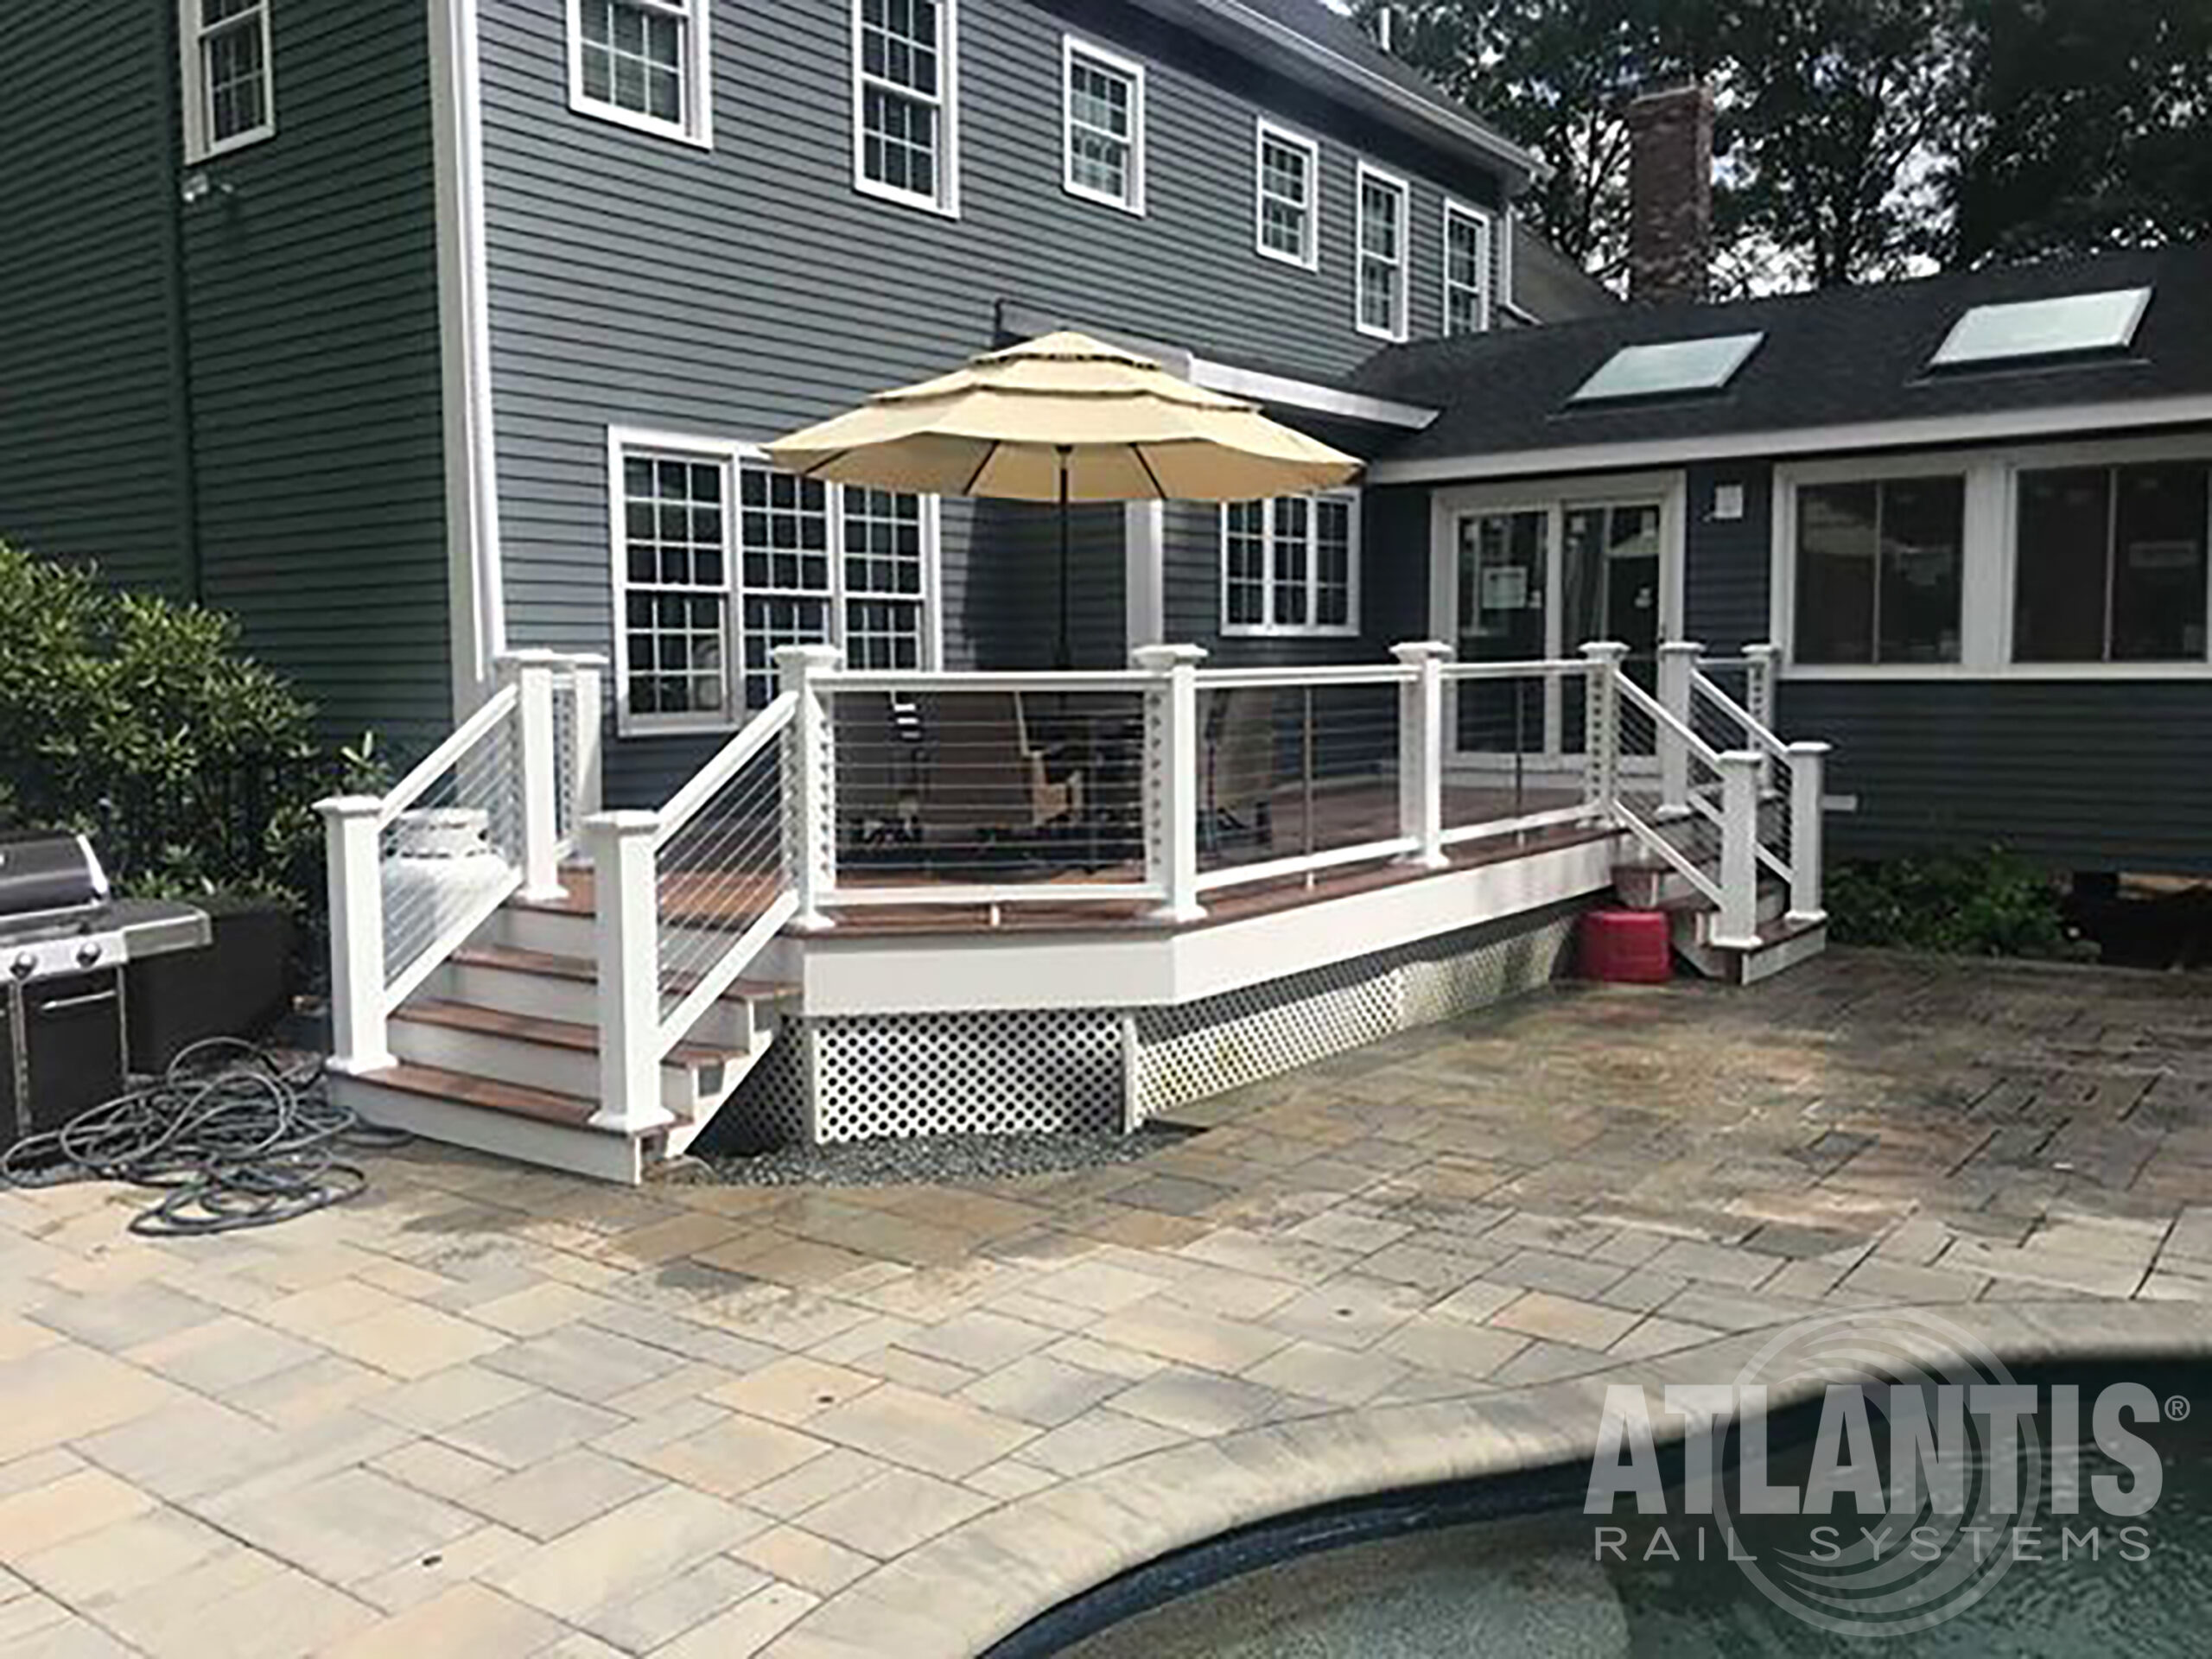
Planning & Design Stage of your Cable Railing System
The first thing you should do before starting your DIY cable railing project is set your sights on a cable railing design. Cable Railing is versatile and allows you to take your vision and bring it to life. You can stay on the traditional side or be bold with the many unique designs cable railing has to offer. You design and choose your perfect cable railing system for your perfect view!
The next step is to set up a budget but remember stainless steel is not the least expensive building material available and other elements of your project should reflect that as well. If you are going to use a wood frame for your system, it is important to select a quality material that matches your design. It is ideal to note that stainless steel will last much longer than a lower end wood frame. Although it can be more expensive in initial costs, when the total life cycle costs are considered, stainless steel is often the least expensive material option.
After you have set up your budget, your next step is to make a birds eye sketch. Use our Express Quote Request Form to help create a simple birds eye drawing of the project with measurements and this will help expedite your quote. Drawings of the project, framing CAD, building plans, etc. are also accepted. Visit our photo gallery to view ideas from past customers and see what unique elements they added to their cable railing system. Finally, submit your DIY cable railing sketch to Atlantis Rail for review. Our experienced team will provide guidance regarding your choices and you will receive a detailed take-off and quote based on your request!
Planning the Install of your Cable Railing System
Now that you have finished the planning stage, the next step is assessing the work to be done and your skill level. Many people have experience in carpentry, mechanics, and other skills that lend themselves to understanding a cable railing installation. There is nothing difficult about a basic cable railing install if you follow the detailed instructions. If you can build the frame yourself, then most likely you have the skill to install the cable on it. If buying post and rail sets from Atlantis Rail, have you installed a similar product before or do you have skilled experience that lends itself to this project? Our best practice suggestion is to review all installation instructions and videos available before assessing your skills for the job at hand. Once customers have made it this far into their project, most DIY customers usually have great success.
Do not forget to check your tool bag! Atlantis Rail sells some basic tools that are ideal when doing an easy and smooth installation. For RailEasy™ Cabled Railing Systems, a template is a must have and also a small set of hand tools is available that will ensure a clean install. Cable cutters are available at varying prices, but there are other valid methods of cutting cable.

Installing your DIY Cable Railing System
Now that we are at the stage of installation, it is time to review install instructions and videos as mentioned previously. It would also be helpful to print a set to have available during install or you can view them on your smartphone or tablet if questions arise. The next step is to lay the project out by placing boxed materials, including post and rail sets, where they are to be installed. Then you will want to check your tools. Make sure you have all the tools required before beginning the installation. This will help make the install process quicker and run smoother. Once the cable railing system is complete, all you have to do is enjoy the perfect view! Check out some extra DIY Cable Railing Tips Below!
Extra DIY Cable Rail Tips:
- Use the available drilling template to mark your hardware and cable run locations.
- When drilling through holes in mid post, go very slow and drill from both sides.
- Use sharp, high quality bits for through-post holes.
- Readily available drill guides may help with drilling through-post holes.
- Use cable lacing needles to avoid damaging ends of cable when feeding through through-post holes.
- Always wash your new cable railing immediately after installation. See the Rail Care Guide for more information about maintaining your cable railing system. Atlantis Rail offers a variety of cleaning products to ensure that your cable railing system looks like the day it was installed!
Atlantis Rail Systems: The Leader in Cable Railing Systems
To learn more about beautiful and practical cable railing systems for your deck, stairs, and balconies, browse the Atlantis Rail Systems website. This Plymouth, MA-based company offers many unique, easy-to-install configurations complete with all necessary hardware to ensure a safe and code-compliant railing system.
For more information on planning cable railings for decks, contact the railing experts at Atlantis Rail Systems at 1-800-541-6829 or by completing the Contact Us Form.