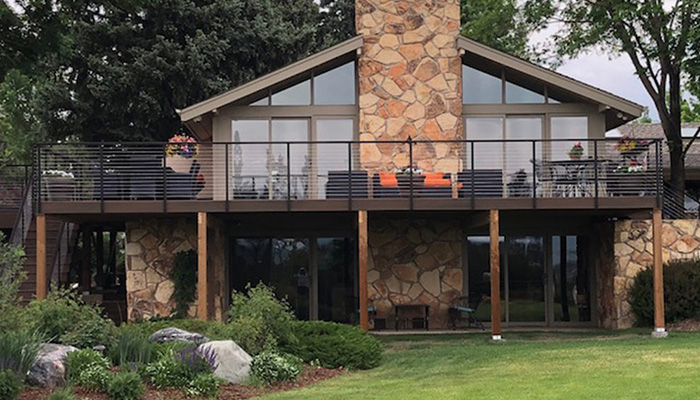
Cable railings have grown in popularity over the past few years and are advantageous for many reasons. For one, they are beautiful and add a great deal of style and aesthetics to a house. Secondly, cable railings are often less costly than many other types of railings, with materials being less per linear foot on average, according to Home Advisor.
Even better, you can install cable railings on your own. Although professional installation is recommended, you don’t need any special skills to execute the perfect DIY. Assuming that you’ve decided to invest in the railings, the following is a step-by-step DIY guide to install cable railing.

How to install cable railing
1. Select the right cable railing system
There are many different types of cable railings systems. The majority use stainless steel cables and others use glass in place of the traditional spindle approach. It’s important to review your options to make the best selection for your needs.
One thing you will want to research when making a selection is your local building codes. Before you begin the project, check your municipal codes to verify that you are meeting all safety regulations.
2. Design and build the railing frame
Depending on the railing system you chose in step #1 above, cable railings can have wooden, composite, stainless steel or aluminum frames.
Wooden frames are the most common. When building the frame, use 4×4-inch posts or larger to prevent bending in case the railing is put under pressure. You’ll need a top rail and (optionally) a bottom rail to distribute the force away from the bottom of the post. Reinforcing support in the form of a 2×4 running under the top rail is recommended.
Ensure that the end posts are securely mounted. In between the wooden end (or corner) posts, you’ll need intermediate posts, placed no more than 42 inches apart. Most people prefer to use ¾ x ¾ inch aluminum cable braces or ¼ x 1-inch stainless braces as intermediates.
3. Install the cable wires
Though some frame systems such as the press and latch are designed to let you hook the cable to the frame with ease, most cable wires run through the posts, especially when wooden posts are used. Therefore, you’ll need a couple of tools to accomplish this step, including a pair of cable cutters, pliers, a wrench, and a drill.
Start by determining the number of cable rows needed, keeping in mind that most building codes require that the cables are spaced no more than 3.5 inches apart. Typically, a 4-inch ball should not pass between two lines of cables.
Once you’ve determined the number of rows required, mark the spots where cable holes are to be drilled. Then, start drilling. You’re required to drill the holes all through the post. When done, run the cables through the holes, using cable sleeves to protect the wood.
4. Tighten, trim, and finish up
The last step is to tighten, trim, and cap the cables. Tightening starts from the middle cable and moves outward, alternating between the cable line above and the one below until you’re done.
When it comes to trimming, most cable railing packages come with pre-assembled kits to make the process a breeze. You’ll likely find a push and lock or pull and lock fitting that allows for easy trimming. Push or pull the fitting and lock it as appropriate. Then, trim the ends using cable cutters and cap them with the supplied caps.
Learn More from the Pros
The above guide is only a simplified version of the installation process. We have more detailed installation guides on our website, for all of our cable railing variations. There are many ways you can play around with cable railing for maximum performance and appeal. Contact the experts at Atlantis Rail today to learn more.